How to Measure the Perfect Size Laddu Gopal Ji Poshak for Your Idol
Dressing Laddu Gopal Ji with love and devotion is one of the most divine experiences for devotees. Every small detail — from the color of the poshak to its fitting — holds deep spiritual value. To make your Gopal Ji look graceful and comfortable, it’s essential to measure the poshak perfectly. Here’s a complete step-by-step guide to help you measure and select the perfect size Laddu Gopal Ji poshak.
Step 1: Understand the Importance of Perfect Measurement
A well-fitted poshak enhances the beauty of Laddu Gopal Ji and reflects your devotion. When the dress fits perfectly, it stays in place during puja, aarti, or jhulan, allowing your idol to look divine in every moment. Measuring accurately also prevents damage to delicate fabrics and ornaments.
Step 2: Collect All Measuring Essentials
Before you begin, keep these items ready:
- A soft measuring tape (preferably flexible and marked in centimeters)
- A clean cloth or paper for notes
- A pen or pencil to record measurements
- A flat surface to place the idol
Clean your hands and make sure Gopal Ji is handled with care and respect during the process.
Step 3: Measure the Height of Laddu Gopal Ji
Start by measuring the total height of the idol. Place the measuring tape from the base of the feet to the top of the crown or head. This measurement helps determine the standard poshak size.
Common Laddu Gopal Ji sizes:
- Size 0: 2–2.5 inches
- Size 1: 3–3.5 inches
- Size 2: 4–4.5 inches
- Size 3: 5–5.5 inches
- Size 4: 6–6.5 inches
- Size 5: 7–7.5 inches
Record the size carefully, as even a half-inch difference can change the fitting.
Step 4: Measure Shoulder to Feet Length
Measure from the shoulder top to the base of the feet. This gives you the length of the poshak or lehenga. Ensure the tape follows the natural shape of the idol. Avoid stretching it too tight — it should rest gently.
Step 5: Measure the Chest or Torso Width
Wrap the measuring tape around the widest part of the chest of the idol. This step ensures the upper portion of the poshak sits neatly without wrinkles. Record the circumference, as it’s essential for designing the ang vastra or kurta.
Step 6: Measure the Waist Circumference
The waist area determines how comfortably the poshak will fit around Laddu Gopal Ji’s belly. Wrap the tape gently around the waist area and add a slight allowance for tying. The waist measurement also helps determine how snugly the dhoti or lehenga will sit.
Step 7: Measure the Arm Length
If your Gopal Ji idol has visible arms, measure from the shoulder joint to the wrist or desired sleeve length. For idols with bent arms, follow the curve carefully. This ensures the ang vastra or sleeve portion fits gracefully and symmetrically.
Step 8: Measure the Head and Crown Area
The mukut (crown) is one of the most important ornaments of Laddu Gopal Ji. Measure around the head circumference where the crown will rest. Also, note the height of the head if you plan to buy a custom or jeweled mukut. A perfectly sized mukut enhances the idol’s divine expression.
Step 9: Measure the Neck Circumference
Place the measuring tape softly around the base of the neck. This measurement helps ensure that the poshak collar or neck area doesn’t sit too tight. It also guides you when choosing accessories like kanthi mala or haar.
Step 10: Measure the Lehenga or Dhoti Flare
For Laddu Gopal Ji poshaks, especially lehenga or dhoti-style, measure around the hip area and the desired flare length. The ideal length should reach just above the idol’s feet, keeping them visible for darshan. A balanced flare gives the poshak a royal and graceful look.
Step 11: Measure the Dupatta or Ang Vastra Length
If your poshak includes a dupatta or ang vastra, measure from one shoulder across the body to the opposite hip. This helps you select a dupatta with proper draping length. Add an inch or two for extra elegance and free movement during aarti.
Step 12: Record All Measurements Clearly
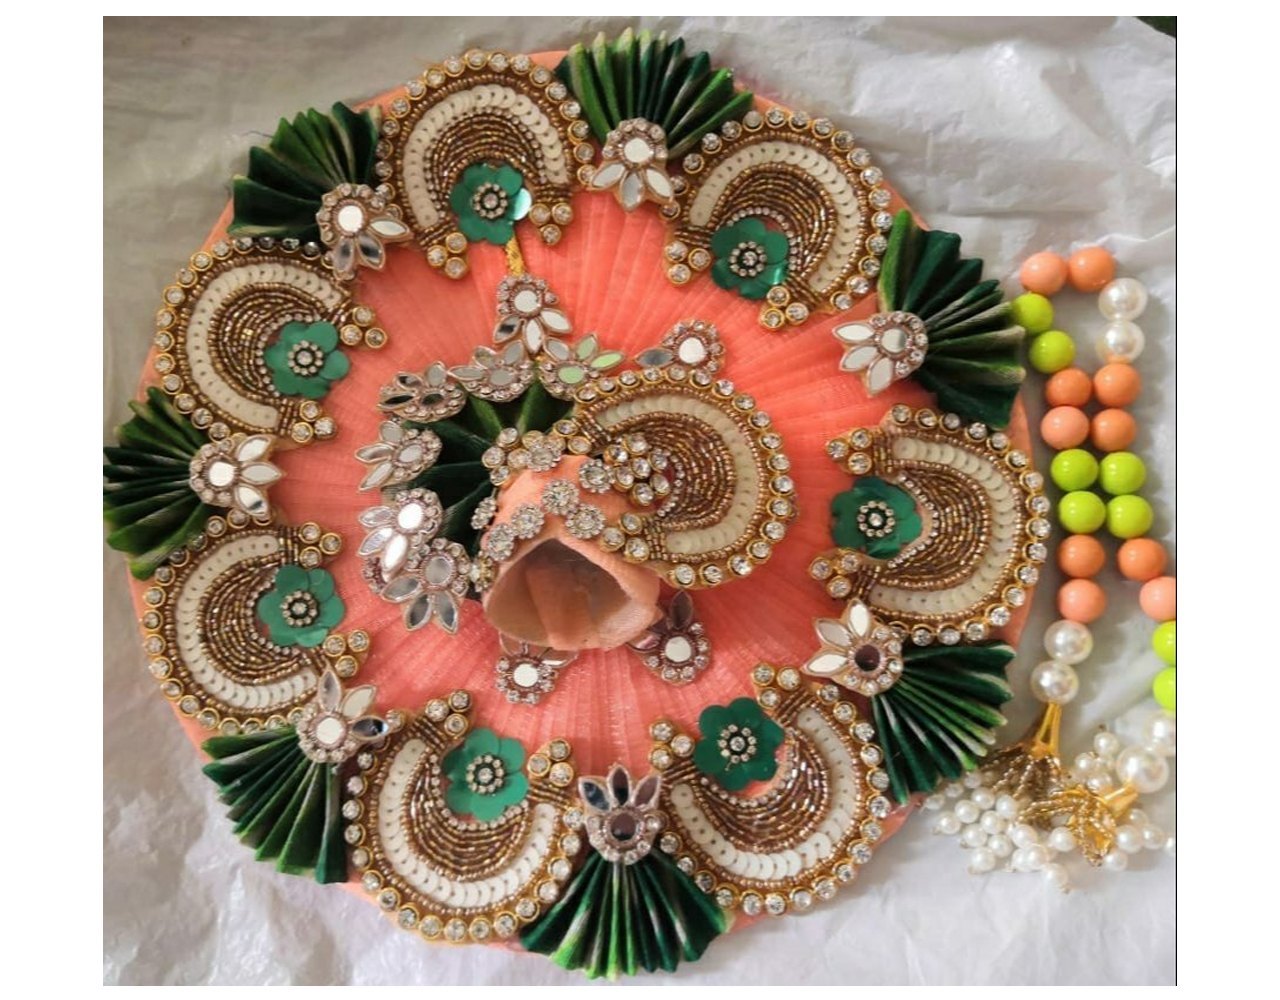
Write down each measurement neatly. Label them as height, shoulder to feet, chest, waist, head, neck, and dupatta length. Keeping a measurement chart will make it easier to order custom-made poshaks in the future.
Step 13: Choose the Right Fabric and Design
After measuring, select a fabric suitable for the season and the occasion.
- Cotton or chiffon — best for daily use and summer.
- Silk or velvet — ideal for winter or special festivals.
- Zari and brocade — perfect for Janmashtami, Diwali, or Radhashtami celebrations.
Pick colors that hold spiritual significance — yellow for positivity, red for devotion, and white for peace. The right fabric complements your Gopal Ji’s charm.
Step 14: Try the Poshak on Gently
Once your poshak is ready, dress Laddu Gopal Ji slowly and respectfully. Check the fitting of the chest, waist, and lehenga. Ensure the attire doesn’t restrict movement or cover important ornaments like the bansuri, mukut, or mala. If required, make small adjustments for a snug yet comfortable fit.
Step 15: Maintain the Poshak with Care
Always handle the poshak with clean hands. After each use, fold it neatly and store it in a soft cloth pouch. Avoid washing frequently, especially if the fabric has embroidery or zari work. Rotate poshaks regularly to keep them fresh and vibrant.
Step 16: Bonus Tip – Seasonal Poshak Change
Changing Gopal Ji’s poshak according to seasons keeps your altar vibrant and spiritually charged.
- Use cotton poshaks during summer.
- Choose silk or velvet during winter.
- Pick bright, floral designs during spring festivals like Holi or Basant Panchami.
This small act of devotion brings freshness to your daily darshan and deepens your connection with Laddu Gopal Ji.
Conclusion
Measuring the perfect size poshak for Laddu Gopal Ji is not just about precision — it’s about love and devotion. Every inch you measure, every fabric you select, reflects your faith. A well-fitted poshak not only beautifies the idol but also creates a divine atmosphere in your home mandir.
By following these simple steps, you can ensure your Gopal Ji always looks enchanting, comfortable, and perfectly adorned — a true reflection of your devotion and care.


Leave a reply